Can Mold Damage Be Repaired? Tips for Restoring Wood Cabinets
Is It Possible to Repair Mold Damage? Advice on Wood Cabinet Restoration Do your kitchen cabinets have mold on them?…
Las Vegas, NV — Serving Henderson, Summerlin & North Las Vegas

Is It Possible to Repair Mold Damage? Advice on Wood Cabinet Restoration Do your kitchen cabinets have mold on them?…
Tiles redefine kitchen and bathroom spaces, blending durability with style. They enhance aesthetics, improve functionality, and boost property value. In…
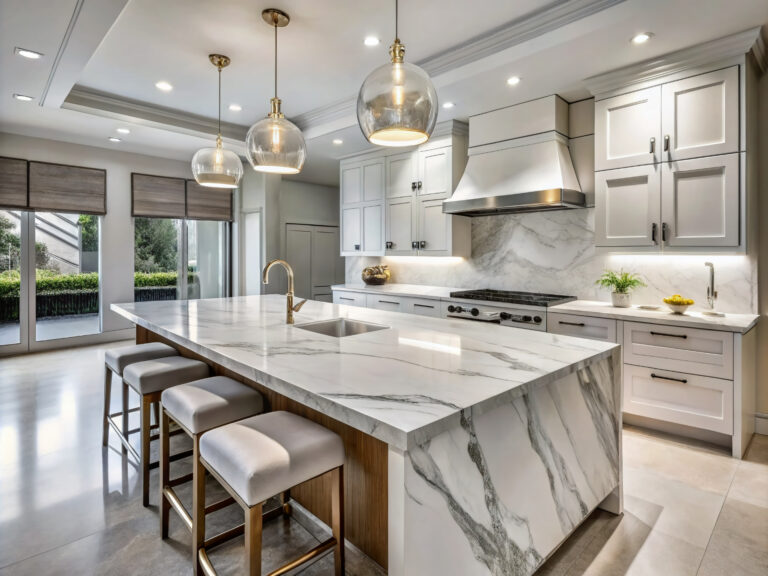
The kitchen is the center of any home, and the best cabinet designs can turn the space into one with…
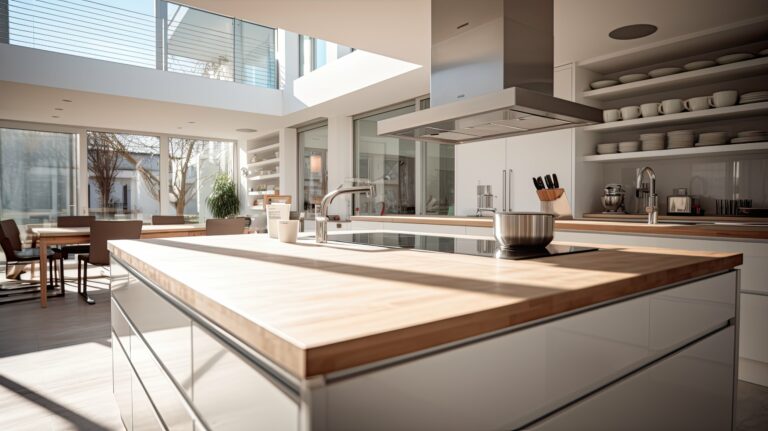
Homeowners planning to renovate should keep up with the latest kitchen remodeling trends. This helps in making smart choices that…

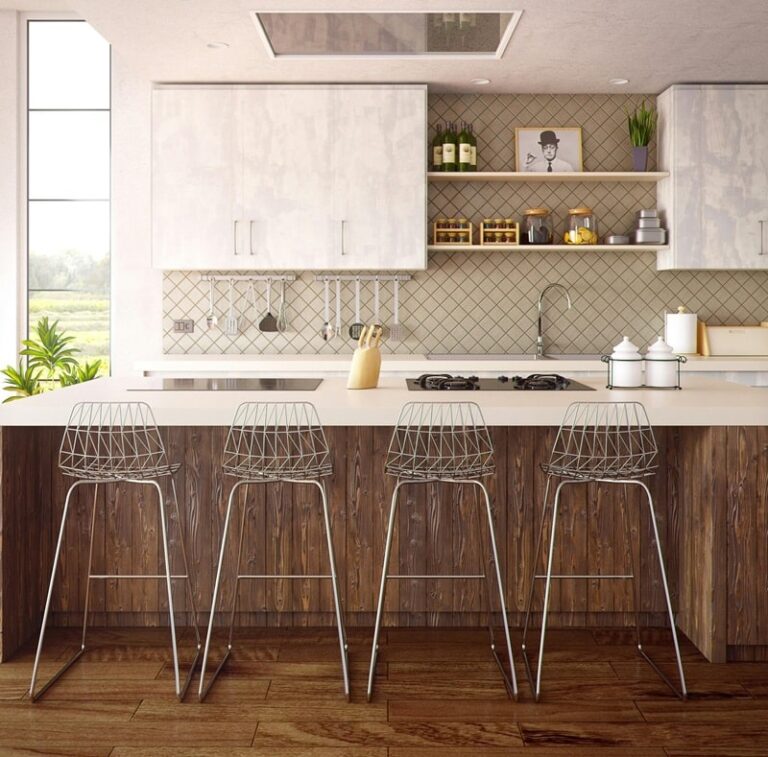
When it comes to redesigning your kitchen, selecting the right cabinets is pivotal to both the functionality and aesthetics of…
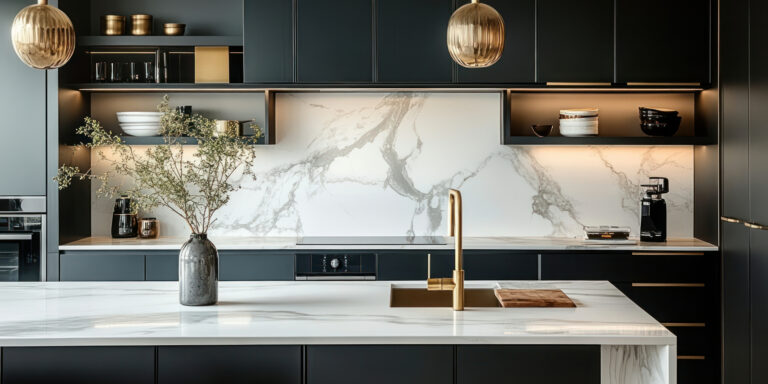
The kitchen functions as the focal point of the home, and a meticulously designed backsplash has the ability to elevate…

Although engaging in painting projects can provide a sense of satisfaction, the challenge comes when there is paint residue after…

Step into your closet and picture a world where calm and order greet you. Envision a spot where each shoe…
While the allure of a fresh coat of paint is undeniable, the secret sauce to a captivating transformation is the…
Every homeowner has faced it at some point: the slow drain, the pool of water, the unmistakable sign of a…