Porcelain vs Ceramic Tile: What is the Difference?
When you are planning to choose a tile to use in your bathroom or elsewhere in your home, then you…
Las Vegas, NV — Serving Henderson, Summerlin & North Las Vegas
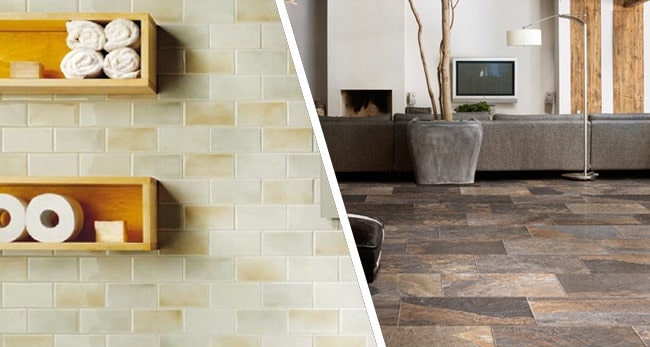
When you are planning to choose a tile to use in your bathroom or elsewhere in your home, then you…

In this guide, we’re exploring how to organize bathroom cabinets in a way that is functional, trendy, and keeps everything…
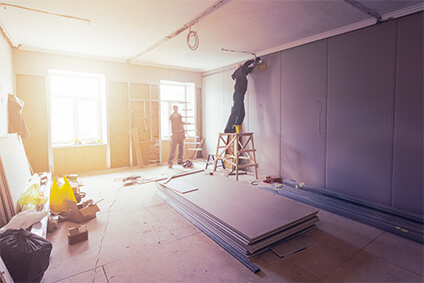
If you don’t know much about construction it can be easy to assume that each construction company does a very…
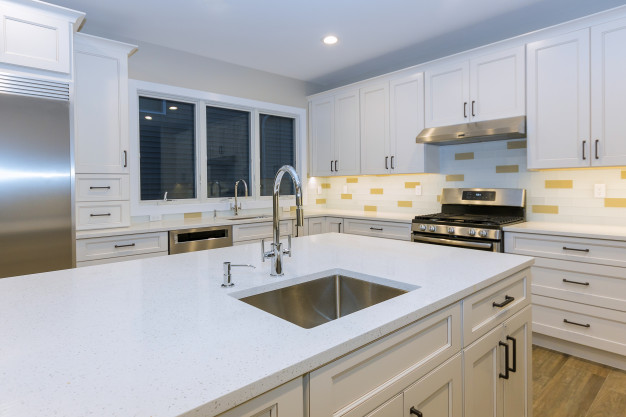
If you’re planning any kind of kitchen remodeling or feel like the time is right to give your kitchen a…
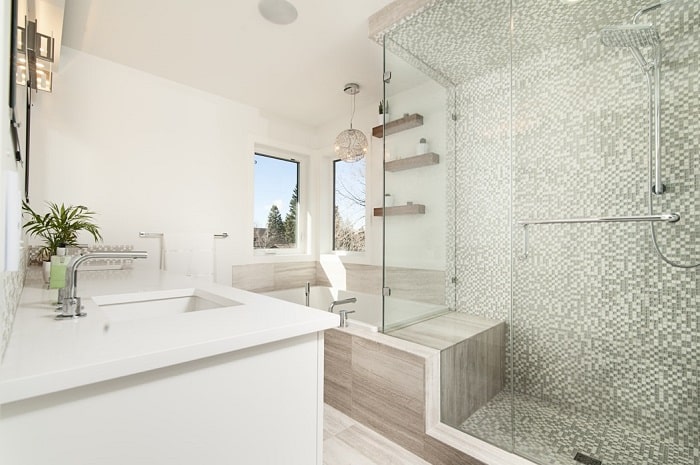
You don’t have to spend a fortune to make your bathroom look amazing. You can improve your bathroom and find…
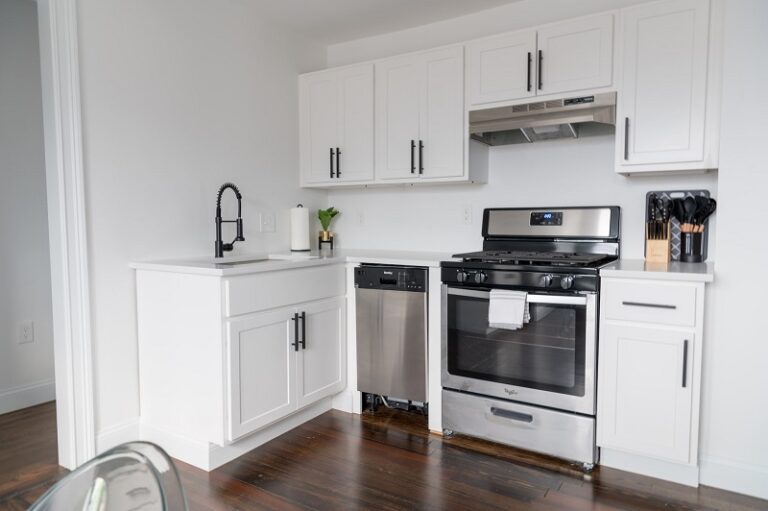
If you are planning to refresh your home with some kitchen remodeling, there are a huge number of options when…

The laundry room is often one of the most overlooked spaces in the home, but it’s also one of the…

Whether you’re buying equipment for your brand-new kitchen, or are looking to upgrade your existing one, there are few things…
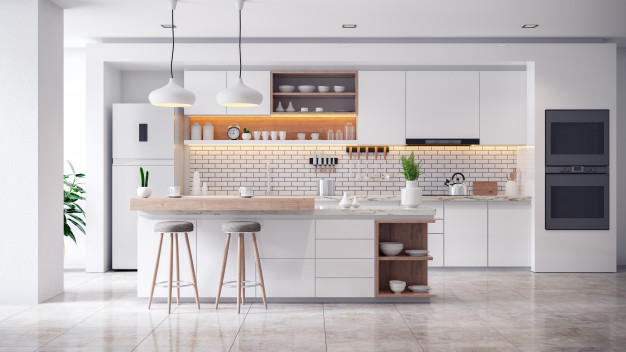
Whether you’re planning out the construction of your new home or are just looking to renovate the old kitchen, the…

Not all homeowners have the luxury of a large kitchen space. You just have to be creative in organizing…