Tips for Cleaning & Maintaining Your Kitchen Cabinets
Cabinets are an integral part of every kitchen, used for storing food, dishes, plates, utensils, and more. They can take…
Las Vegas, NV — Serving Henderson, Summerlin & North Las Vegas

Cabinets are an integral part of every kitchen, used for storing food, dishes, plates, utensils, and more. They can take…
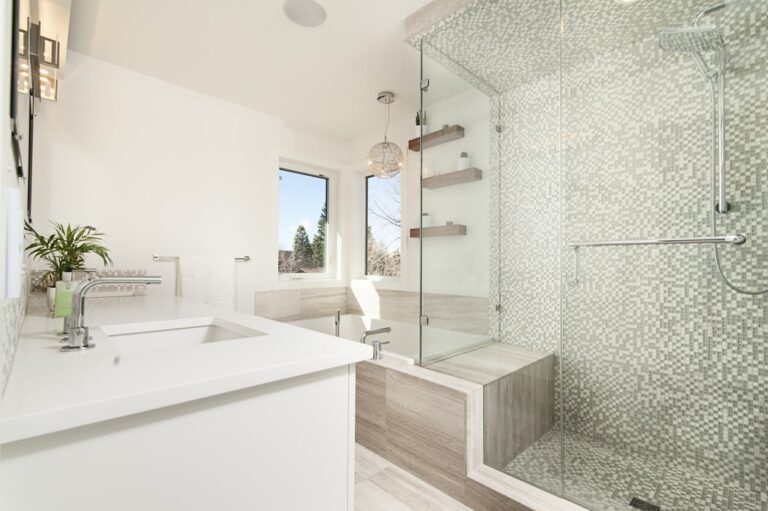
When you are trying to choose the right tile for your bathroom you might realize that a huge number of…

The whole world tends to go mad for Halloween. The spooky festival seems to get bigger every year, with more…
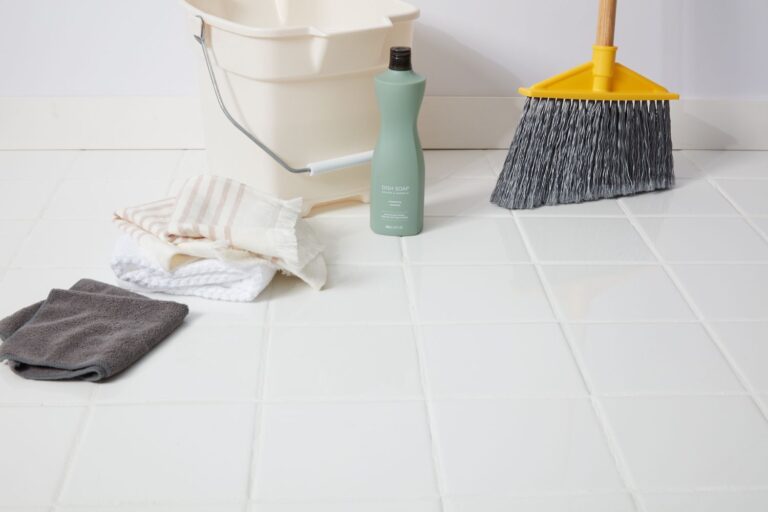
Tiles are a popular flooring option due to their elegant look and versatility. In addition, they are durable and don’t…
Thanks to the current circumstances we all find ourselves in, many industries have slowed to a halt. However, this is…

Many of us have small bathrooms that we’d much rather make much bigger given a choice. When you are stuck…

The kitchen is one of the main focal points of our homes. If we have a stylish kitchen, then it…

If you are looking online to find remodeling tips and the perfect kitchen layout and floor plan ideas, you will…

Painting a room can be an enjoyable experience, as long as you plan ahead and make sure that the room…

A well-planned kitchen layout can change how you move and work in your space. It makes cooking smoother, keeps essentials…