
Majestic LLC for all your Las Vegas Cabinet needs.

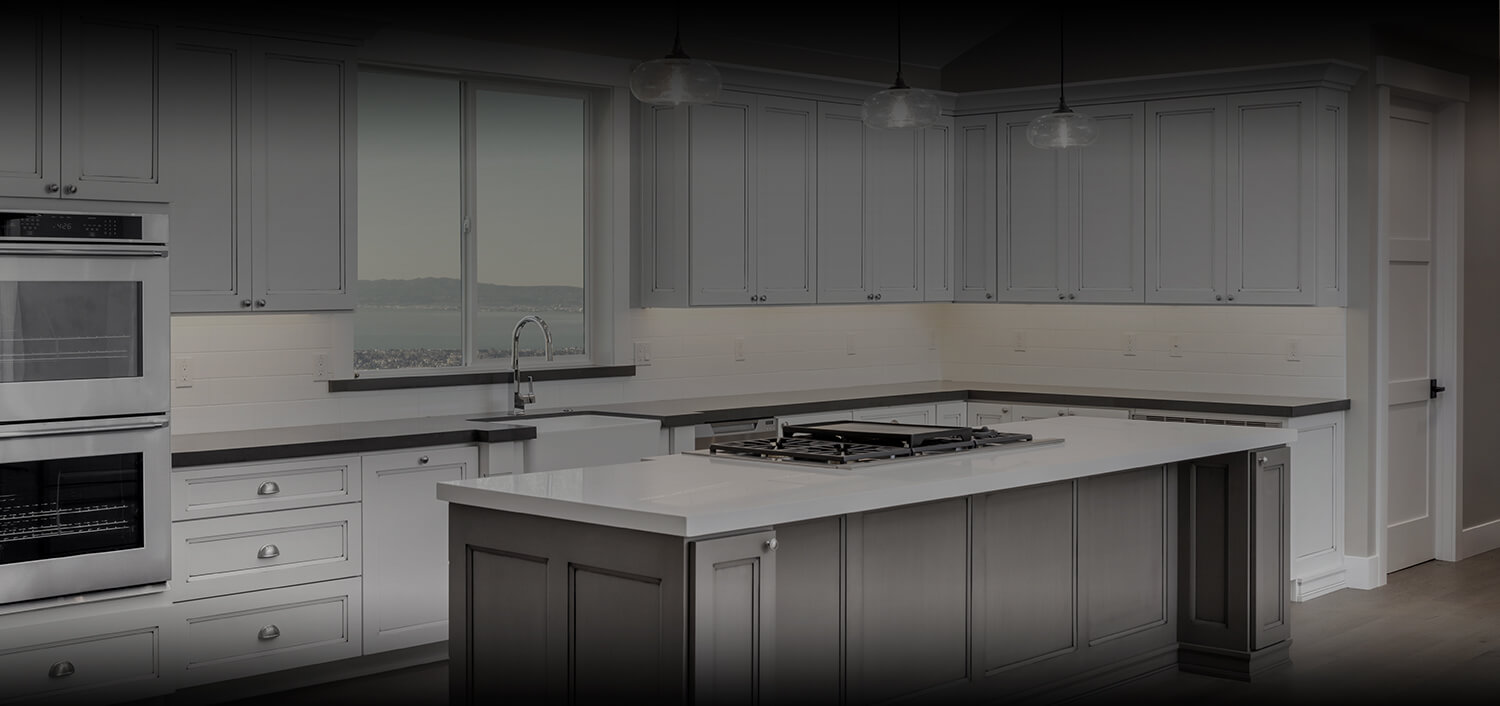
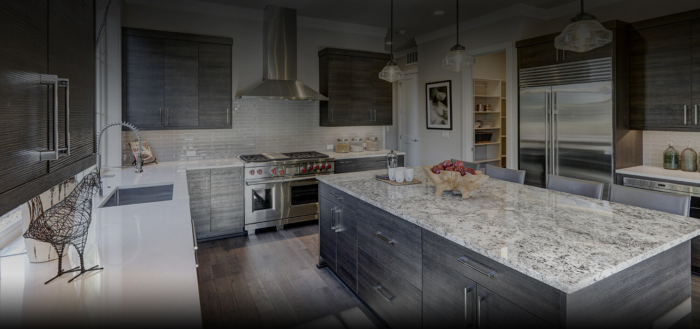
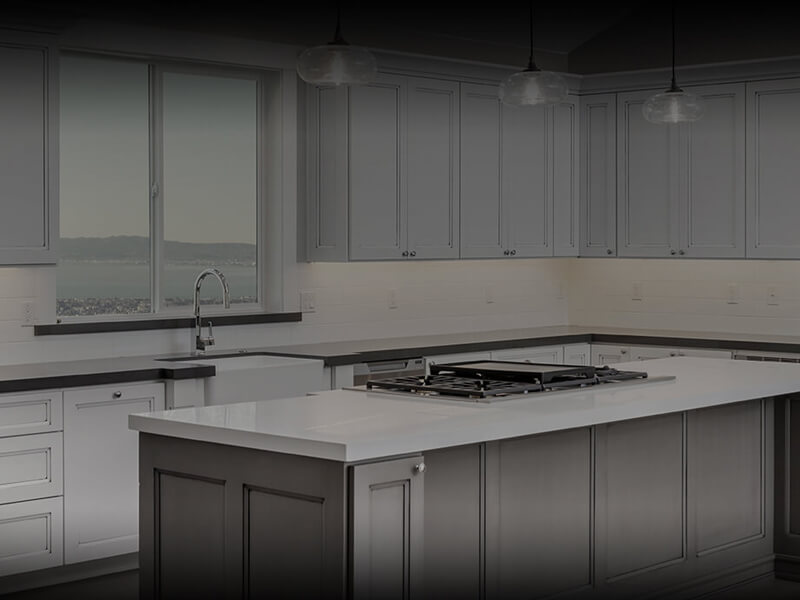
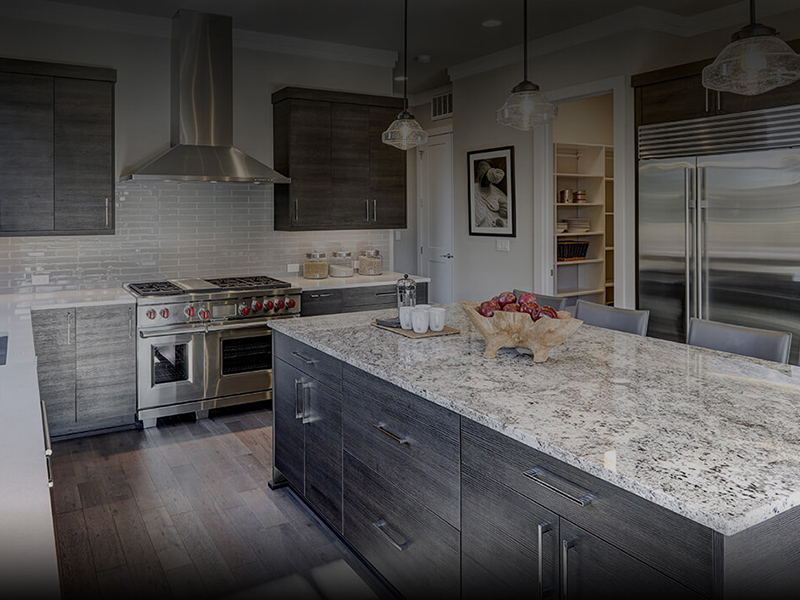
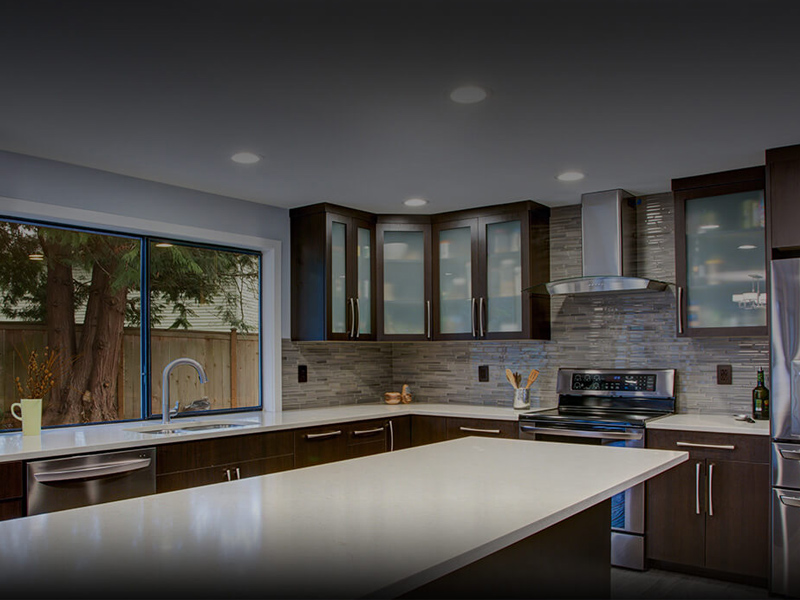
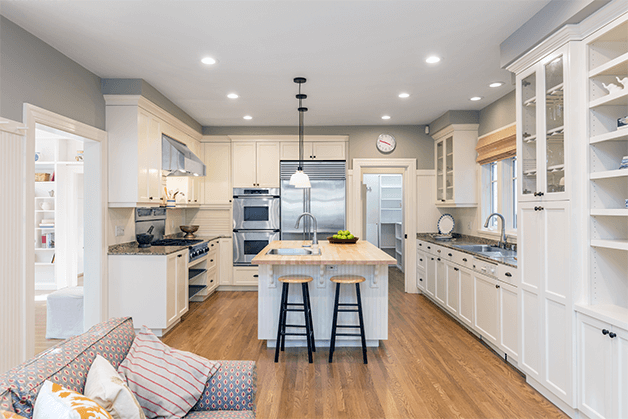
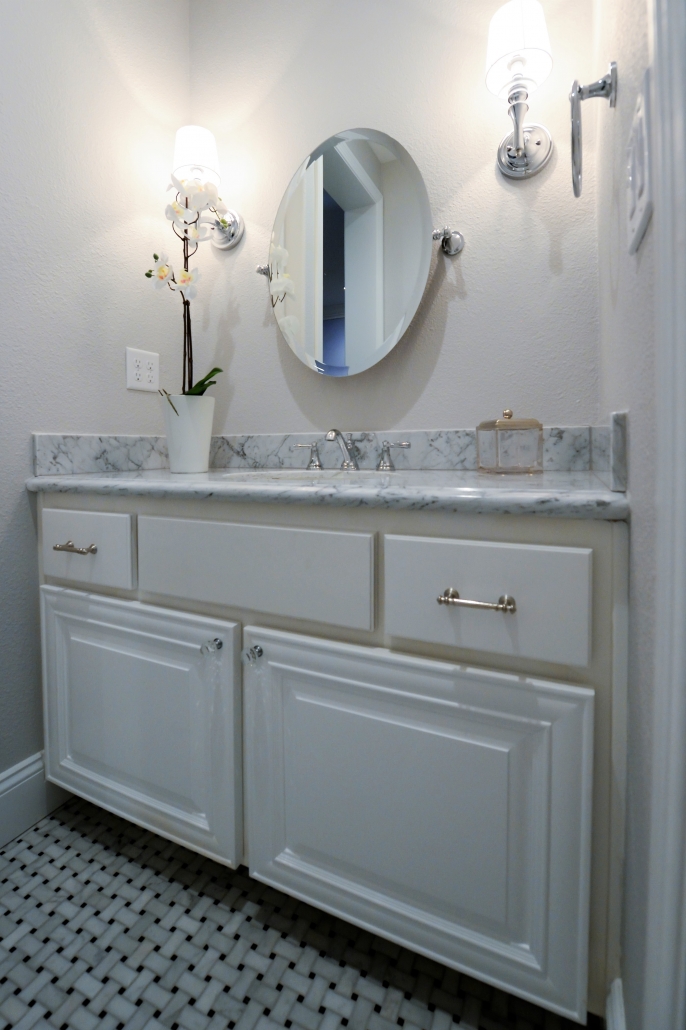
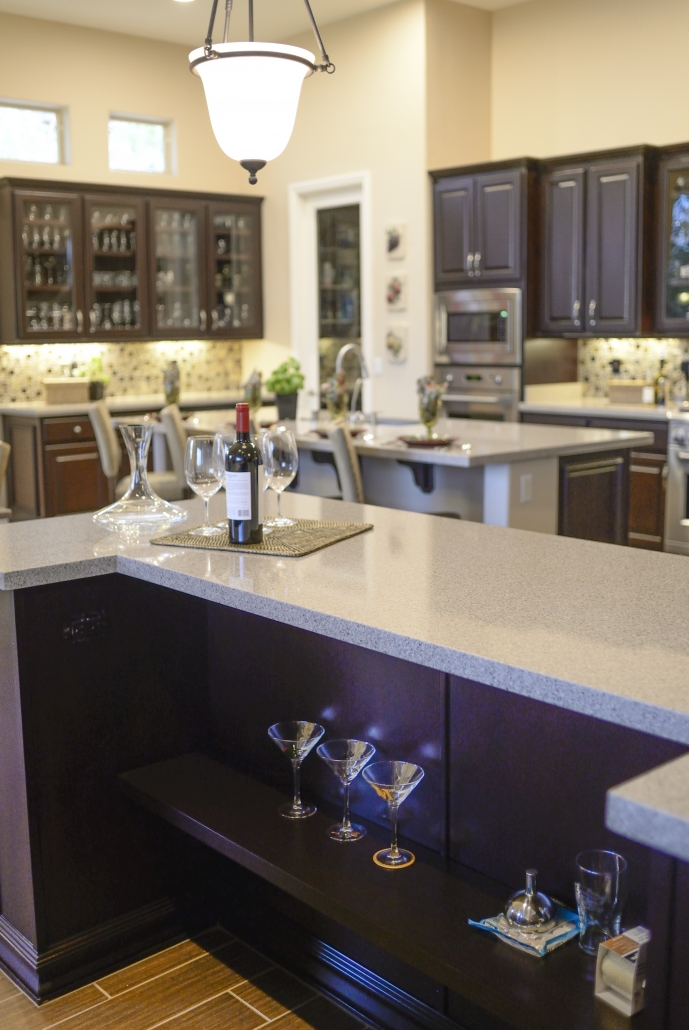
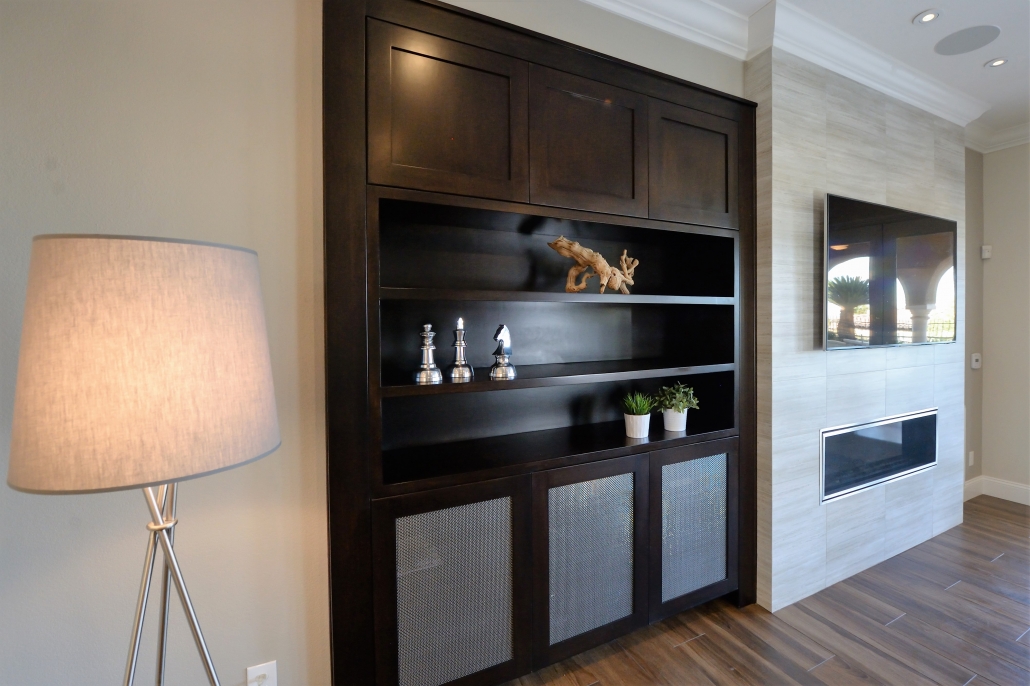
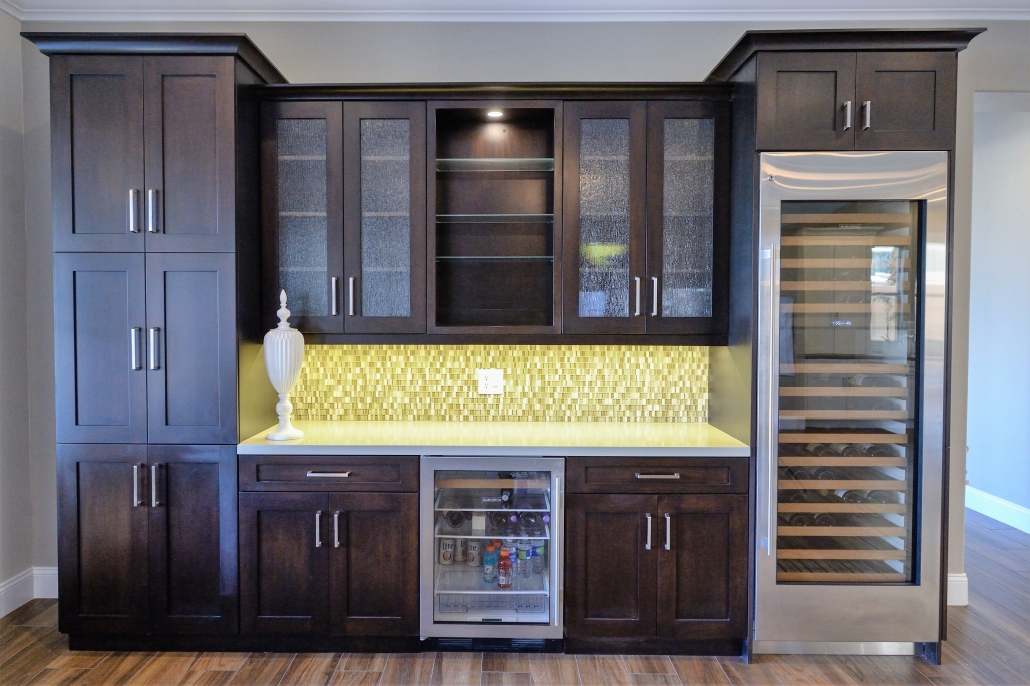
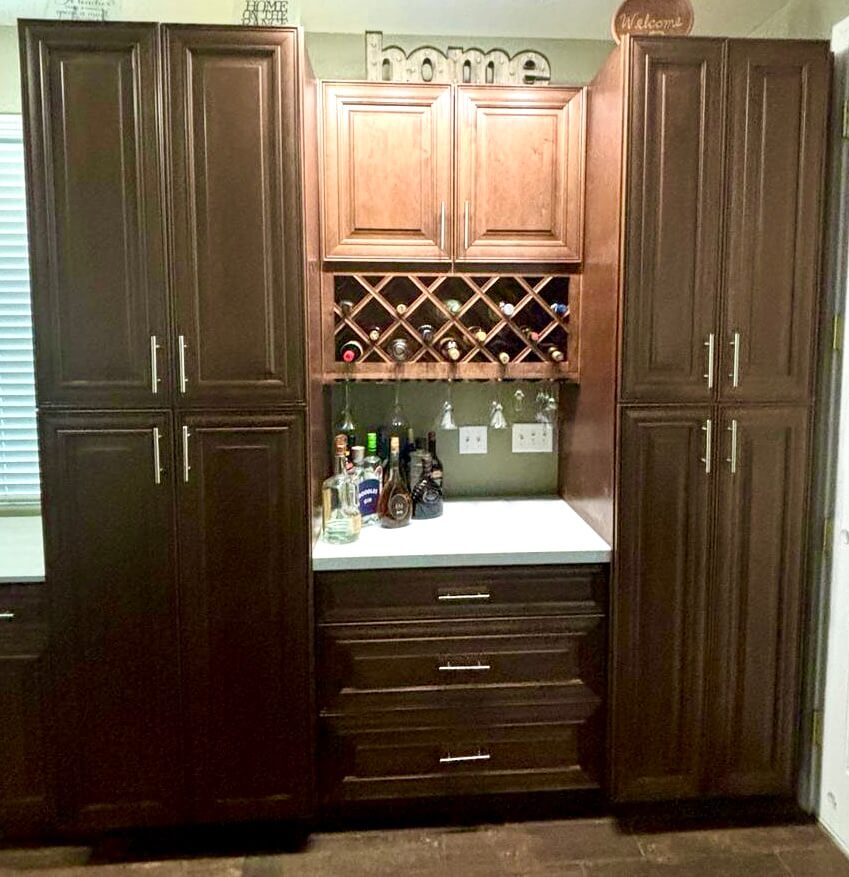
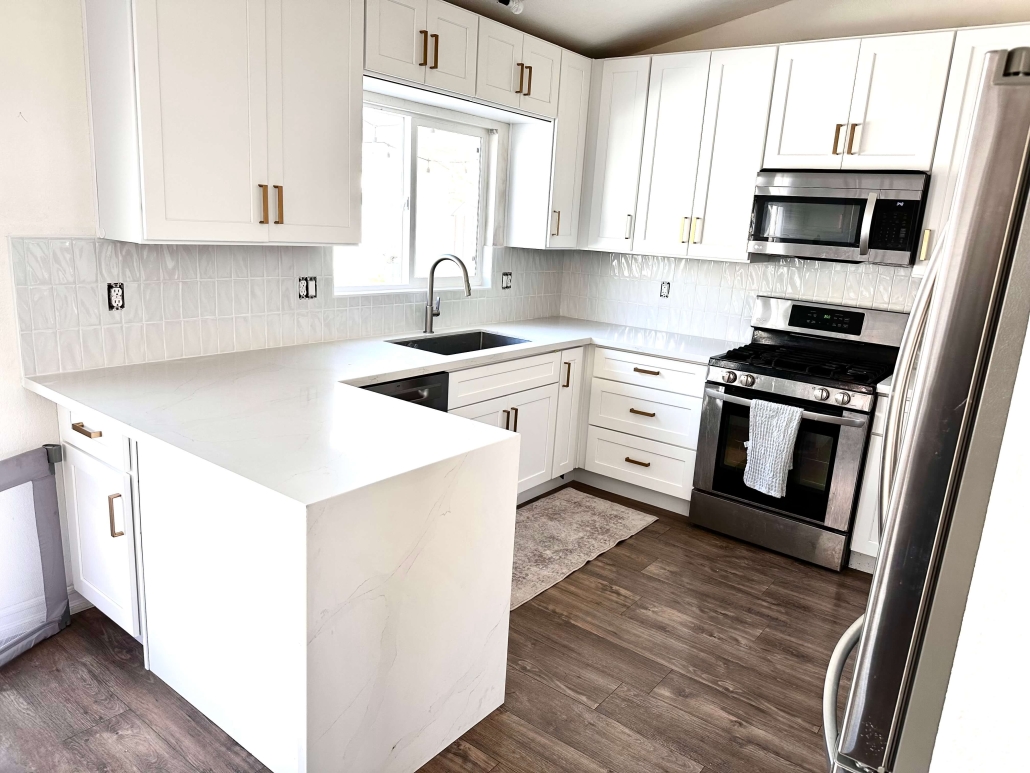
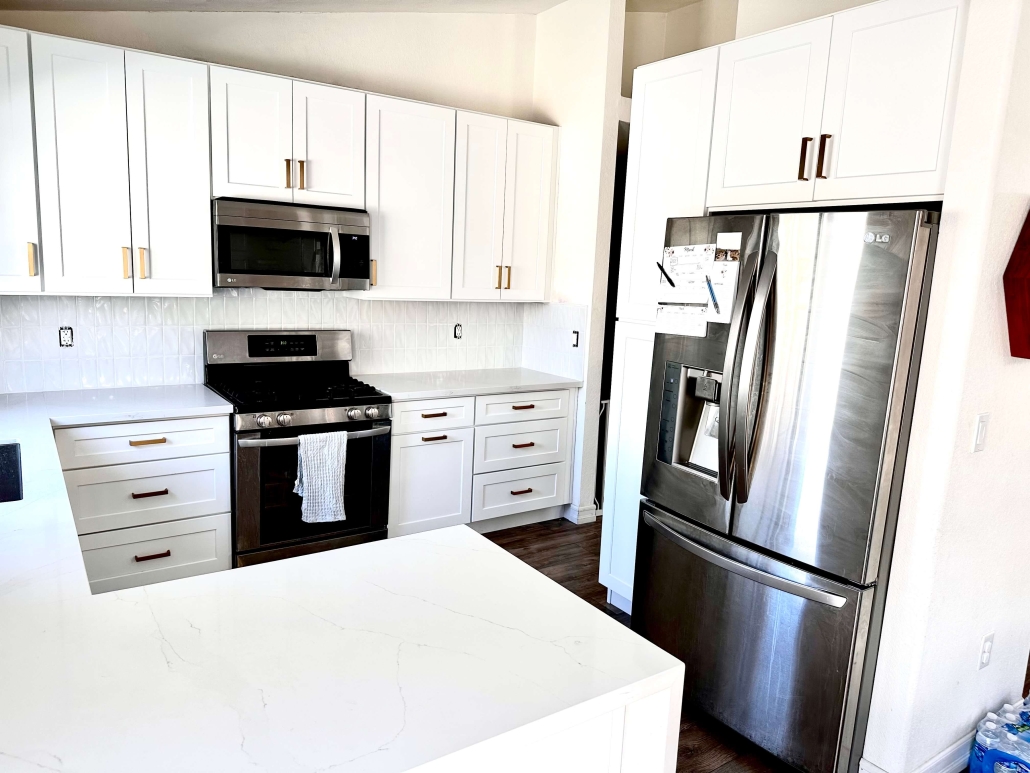
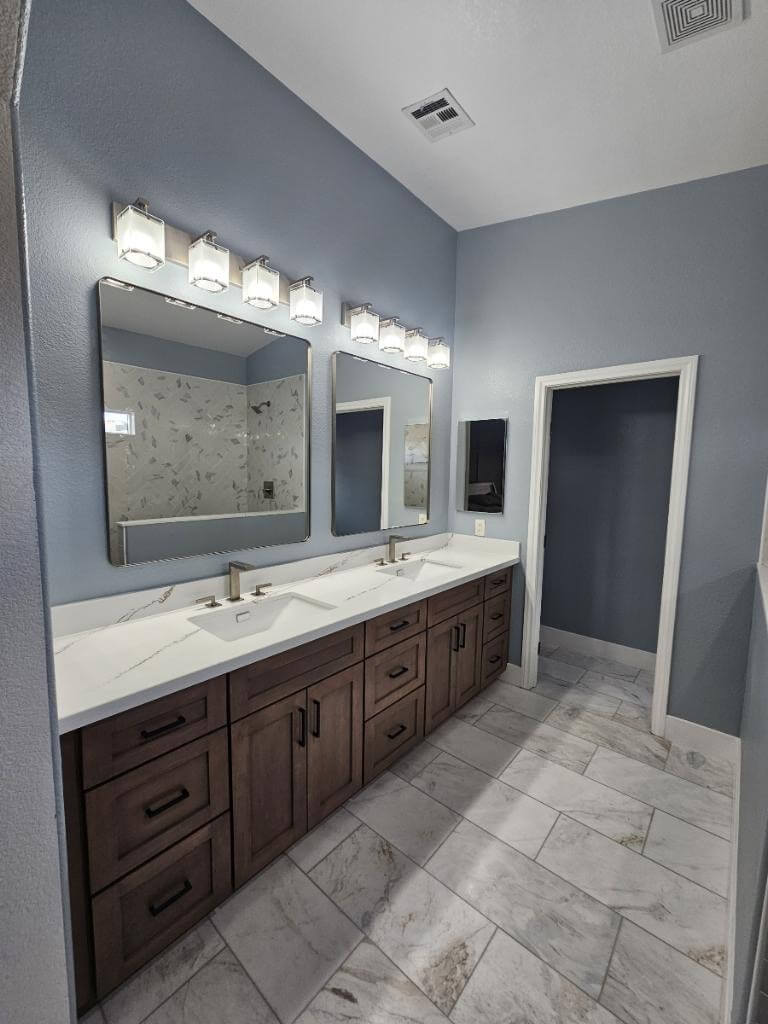
At Majestic Cabinets, we pride ourselves on the quality workmanship that goes into every Cabinet project we do! From Kitchen Cabinets in Las Vegas to whole house Custom Cabinetry, Cabinet Refacing, Refinishing Cabinetry, Bathroom Cabinets, Office, Entertainment Center, Bedroom, Modular Cabinet Installation, Laundry Room, Bathroom Remodeling, and Residential Contractor work. We know you will be pleased with our team so we offer our guarantee. Majestic Cabinets is the Custom Cabinet Company for you.
Majesitc Cabinets LLC | Las Vegas Kitchen Cabinet Makers


